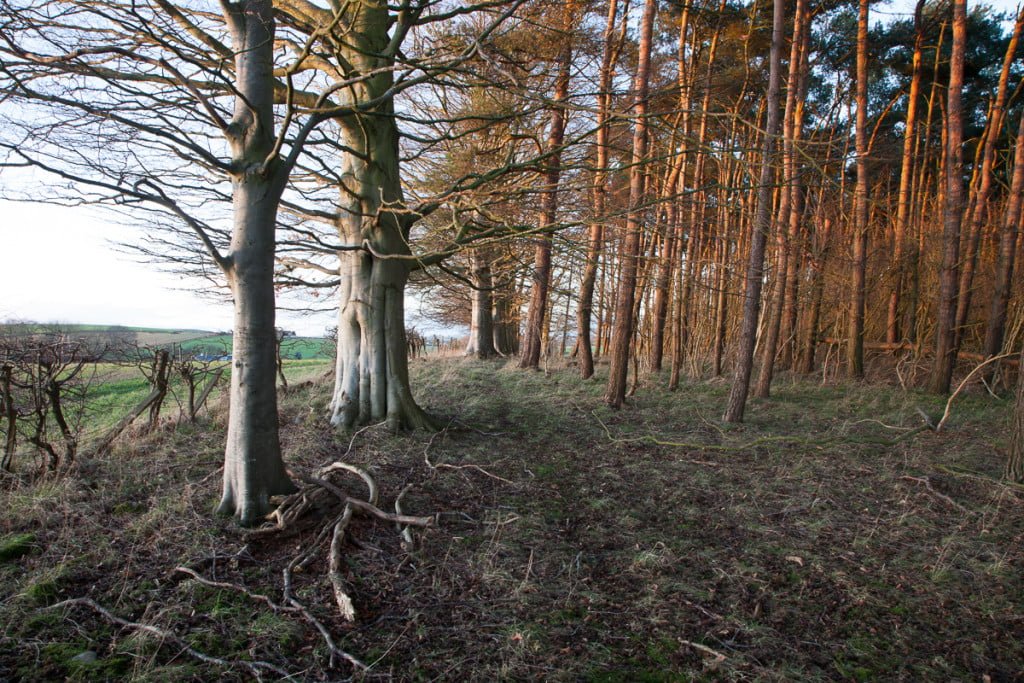
Capture the image
[su_row]
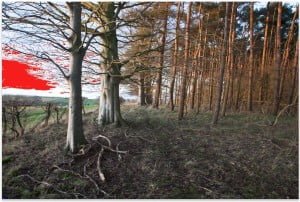
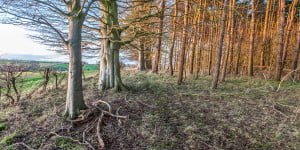
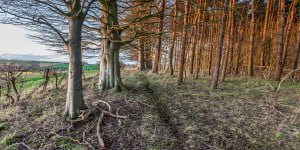
[su_column size=”1/3″]To start with the raw image captured by the camera should be lighter rather than darker. Lightroom can handle a certain amount of blown (ie over exposed) highlights. The red areas highlighted (press ‘J’ to show these problem areas in Lightroom) in this image indicate where the camera, and Lightroom, think there are areas of overexposure. As we’ll see later on, we can do things with those areas to recover details. Its much better to be able to tone those down rather than try to lighten already too-dark areas.
You may have heard this referred to as “expose to the right” or “ETTR”. it is potentially complex and we’ll do a more detailed tutorial on it later in the year.
For the time being, notice how the histogram kicks up at the right hand end, but not too much. That’s good. What is not quite so good is the left side of the histogram which is indicated that there are some deep shadows which we’ll need to be careful with. In fact this image is arguably really overexposed in those areas, and some would reject it for that reason. Let’s persevere with it and see what we can make of it.
The little white triangular indicators in the top corners tell us when there is under- and over-exposure. Watch how they change as we adjust the image throughout the process.
[/su_column]
[su_column size=”1/3″]
[/su_column]
[su_column size=”1/3″]
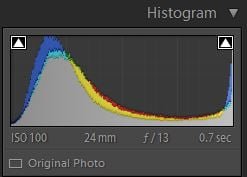
Histogram for the RAW image
[/su_column]
[/su_row]
Global Adjustments
[su_row]
[su_column size=”1/3″]In general, the work flow deal with whole-image changes to start with, moving onto specific selective changes later on. Lightroom will woek quicker doing thins this way, and you’ll be more likely to end up with a noise-free image into the bargain.
So first of all, Lightroom has some useful tools for dealing with distortions and chromatic fringing. Simply tick the highlighted boxes.
We can also use the automatic alignment tools in Lightroom in the same panel for correcting wonky horizons and converging verticals. We don’t need to do any of these on this carefully composed image.
You’ll see by applying the corrections, the image has got a little bit lighter and, looking at the histogram, we no longer have a problem with the shadows. The highlights have got brighter but we’ll deal with that shortly.
[/su_column]
[su_column size=”1/3″]
[/su_column]
[su_column size=”1/3″]
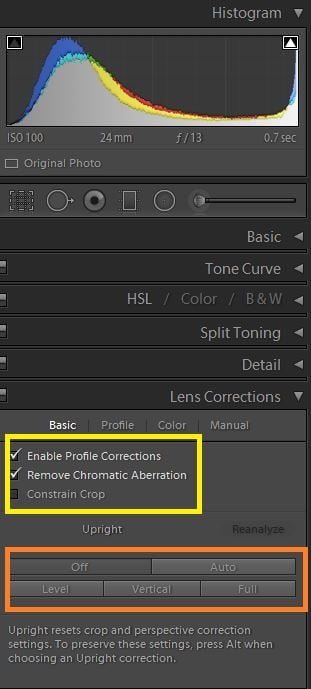
Straighten panel
[/su_column]
[/su_row]
Cropping
[su_row]
[su_column size=”1/3″]If youknow at the start you’re going to want to crop the image, then do that straight away. You’ll only then be asking Lightroom to apply adjustments only to the part of the image you want to keep. It may also change the histogram. In our image the highlights have got a little bit simpler.
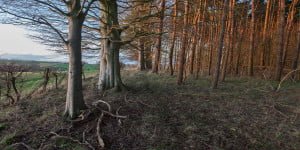
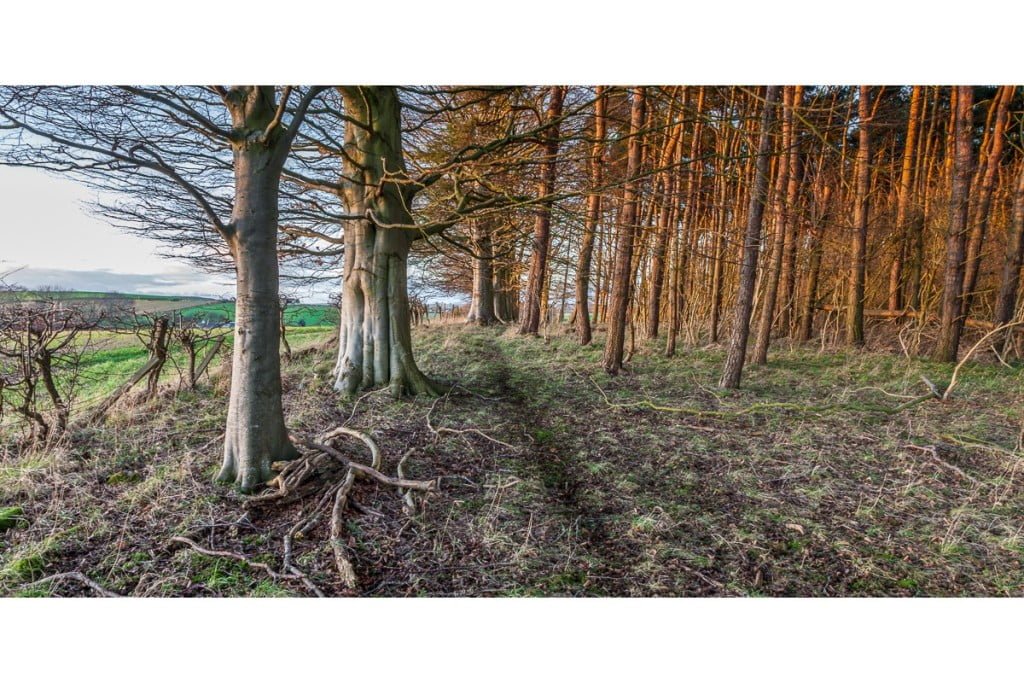
For this picture I wanted a panoramic feel so I chose the 2×1 aspect in the cropping tool. remember this only determines the shape of the picture, not the size of the finished article. That comes later.
[/su_column]
[su_column size=”1/3″]
[/su_column]
[su_column size=”1/3″]
[/su_column]
[/su_row]
Tonal Adjustments
Adjust highlights
[su_row]
[su_column size=”1/3″]Now we’ve done a lot of the initial adjustments, we can start to consider the tones in the image. The next four actions will enable us to consider all the information the picture actually carries. Once we know that, we can make further considered choices about how if looks.
The first action is to tone down the highlights. The highlights are the very bright elements of the image, represented in the histogram by that upturned curve at the end. Our aim is to bring that curve leftwards which has the effect of darkening the relevant pixels.
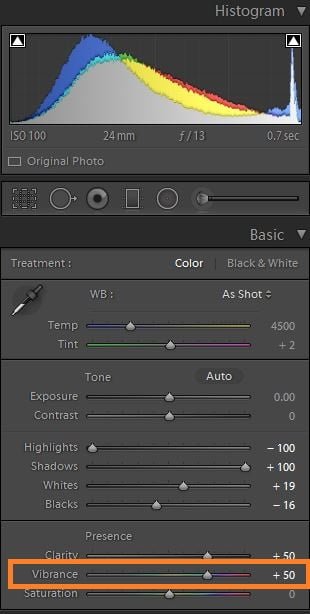
Simply slide the Highlights slider over to the left, typically as far as it will go to start with. This is known as recovering the highlights. If you look at the area of sky behind the branches on the left of the image, you’ll now see much more detail and more colour than there was before.
You’ll also notice the histogram still has that up-tick on the right, but its much further in to the left, and not quite so high. That means we have found some of the detail that the bright highlights were obscuring before.
[/su_column]
[su_column size=”1/3″]
[/su_column]
[su_column size=”1/3″]
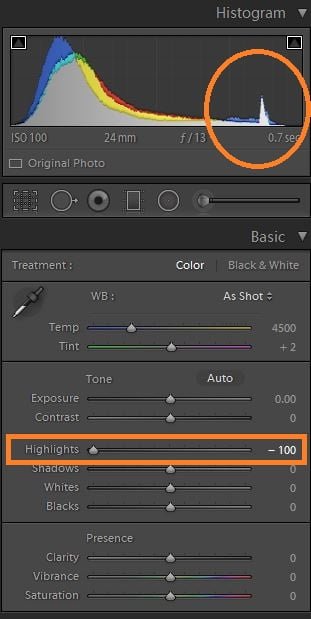
Highlight recovery slider in Lightroom
[/su_column]
[/su_row]
Recover details in shadows
[su_row]
[su_column size=”1/3″]Not to deal with the left hand side of the histogram. Our aim is to see if there is any detail hiding away in the shadowy areas of the image, and if so, do we want to keep it. Slide the Shadows slider all the way over to the right. As you move it, you’ll see the picture getting lighter and more and more detail will appear in the darker areas such as those crowded trees over on the right. There’s a lot more to be seen in the pile of twigs under the tree in the left foreground.
See also how the curve on the left of the histogram has moved slightly to the right.
[/su_column]
[su_column size=”1/3″]
[/su_column]
[su_column size=”1/3″]

Lightroom shadow recovery slider
[/su_column]
[/su_row]
Boost whites
[su_row]
[su_column size=”1/3″]Now we know how much interesting detail was hiding away waiting to be uncovered, we need to consider whether we have the correct spread of tomes from deep black to bright white throughout the image.
To get the white areas actually displaying as white, we just push the Whites Slider across to the right stopping just short of allowing any part of the image to show its gone too far. The easy way to do this in Lightroom is to watch the highlight indicator at the top right of the histogram. When it comes on as you move the slider, just nudge the slider back to the left until the indicator goes off again.
The alternative is to switch on the highlight warnings on the image itself (press J), then move the Whites slider rightwards until the blue warnings come on, then back to the left until they just go out.
There will be times when you won’t mind some warnings showing. For example, if you include the sun in the picture, its likely that there will be no detail of the sun itself, and there will be warnings showing. You would usually ignore those and concentrate on slightly darker areas of highlights.
In this image we were only able to increase the white to +19; often you’ll be able to add a lot more back into the image.
[/su_column]
[su_column size=”1/3″]
[/su_column]
[su_column size=”1/3″]
[/su_column]
[/su_row]
Deepen blacks
[su_row]
[su_column size=”1/3″]Similarly, we need to adjust the picture so that really dark areas show a real deep black. Slide the Blacks slider over to the left until either the histogram flags up a warning, or red spots appear on the image. Move the slider back right so the warnings disappear.
The image now has a full range of tones from deep black to bright white, and we can see as much detail as is possible. Any further adjustments we make will be made on the basis of real knowledge of what the image contains.
[/su_column]
[su_column size=”1/3″]
[/su_column]
[su_column size=”1/3″]
[/su_column]
[/su_row]
Increase clarity
[su_row]
[su_column size=”1/3″]Often the next step is to increase the contrast in the image. We have already made sure we have blacks and whites so we don’t need to emphasise them any more. What we can do is adjust the Clarity slider which has the effect of more clearly differentiating the middle tones in the image, making thins stand out more clearly as a result. Just move the Clarity slider to the right until things look right. For this image we set Clarity at +50. Any more and we run the risk of introducing noise into the picture, and making it look too unreal.[/su_column]
[su_column size=”1/3″]
[/su_column]
[su_column size=”1/3″]
[/su_column]
[/su_row]
Increase vibrance
[su_row]
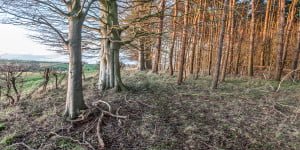
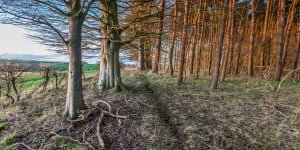
[su_column size=”1/3″]Another step we would typically consider is increasing the amount of colour in the image. Where the colours are already strong, we don’t want to increase them too much. However by moving the Vibrance slider, we will increase the saturation (or the amount of colour) in those areas where the colour is not already strong. As with Clarity, a little extra goes a long way. We increased the vibrancy in this picture by +50 and you’ll see the difference in the grass and the orange light on the pine trees on the right.
The blue sky has now probably got a bit too dark and we’ll get back to that shortly.
[/su_column]
[su_column size=”1/3″]
[/su_column]
[su_column size=”1/3″]
[/su_column]
[/su_row]
Selective adjustments
Selective exposure adjustment
[su_row]
[su_column size=”1/3″]We’ve finished making changes to the whole picture, and often that’s all we’ll need to do to make our images presentable. However there may be an advantage to considering a few other details before creating our finished picture.
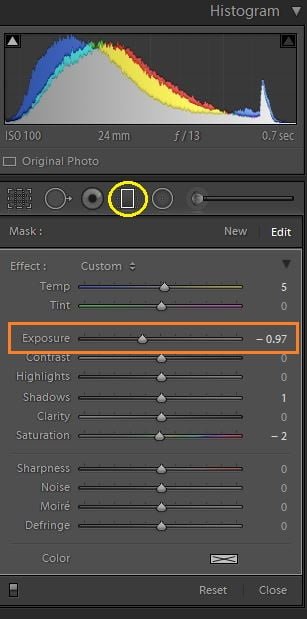
In this image, the footpath has got a bit lost and by making it a touch darker, we can emphasise a sight line into the distance. In Lightroom, we can use the Radial Filter to make minor changes. In our case, we’ll highlight the area of the path and simply decrease the exposure for that part only. Just slide the Exposure slider over to the left a bit.
[/su_column]
[su_column size=”1/3″]
[/su_column]
[su_column size=”1/3″]
[/su_column]
[/su_row]
Selective graduated filter
[su_row]
[su_column size=”1/3″]A more usual selective adjustment which can be useful for landscapes is the graduated filter. This does the same job as the graduated filter you can attach to the camera in the field.
In our case, the filter enables us to darken the top of the image slightly which will emphasise the colours in the pine trees. Select the tool and drag down from the top of the picture. Holding the Shift key down as you drag keeps the filter square on to the picture. Drag the filter just over half way (although that will vary depending on the picture.) When you’ve got it in the right place, slide the Exposure slider to the left until the effect looks right.
[/su_column]
[su_column size=”1/3″]
[/su_column]
[su_column size=”1/3″]
[/su_column]
[/su_row]
Adjust blue saturation
[su_row]
[su_column size=”1/3″]A couple of the adjustments have made the blue sky much too blue. Lightroom provides a saturation tool for toning down the colours where needed.
Go to the “HSW/Color/B&W” panel and choose the Saturation tool. Drag the blue slider slightly over to the left and you’ll see the sky go a bit paler.
This will only be successful if the blue is mostly in one location in the photo. If you need to be selective with this adjustment, using the Adjustment Brush is a possible way to go. For more complex adjustments, you may have to take your image into Photoshop for the detailed work. I find Lightroom fill my requirements about 95% of the time.
[/su_column]
[su_column size=”1/3″]
[/su_column]
[su_column size=”1/3″]
[/su_column]
[/su_row]
Sharpening and noise management
[su_row]
[su_column size=”1/3″]The very last things to do before saving your final file for display or for printing are sharpening and noise reduction.
For this image, the adjustments we made earlier have not introduced new noise, and since it was taken at a low ISO setting, there was little noise out of the camera.
As a result we just need to do a little sharpening and the job’s done.
I find settings like the ones on the right work well with landscapes. However it must be said sharpening is another area of potentially complexity, and would benefit from a specific tutorial at some future point.
[/su_column]
[su_column size=”1/3″]
[/su_column]
[su_column size=”1/3″]
[/su_column]
[/su_row]
The Final Image
The process in a slide show
[foogallery id=”977″]

